Available now from a single store
These picks currently have one store option each. Price comparison opens up as more stores are tracked.
Start with the bra you actually wear
Choose the bra this top needs to work with, rather than whichever one happens to be on during a fitting. Decide what you want hidden: straps, cup edges and the side or back band are separate checks. Showing a strap can be a deliberate choice; the goal here is the coverage you want.
First make sure the bra itself sits comfortably. Bravissimo’s fitting guide calls for a level band, breasts contained within the cups and, for an underwired bra, wires resting flat against the ribcage. Straps should not dig in. If you must pull the band down or overtighten the straps to hide them, pause and resolve that fit issue before judging the top.
Check the openings, not just shoulder width
An armhole is the opening your arm passes through. Look at its lowest point from the side, then check whether the edge stands away from your body. A low opening and a gaping opening are different problems.
- Follow each bra strap across the shoulder and toward the back. The top needs fabric in that same position; a wide panel elsewhere does not help.
- Look sideways at the bra’s side band and the outer edge of the cup. If the top’s armhole sits below a part you want hidden, compare a shallower armhole.
- Check the front and back necklines separately. A covered shoulder does not tell you whether either neckline exposes the bra.
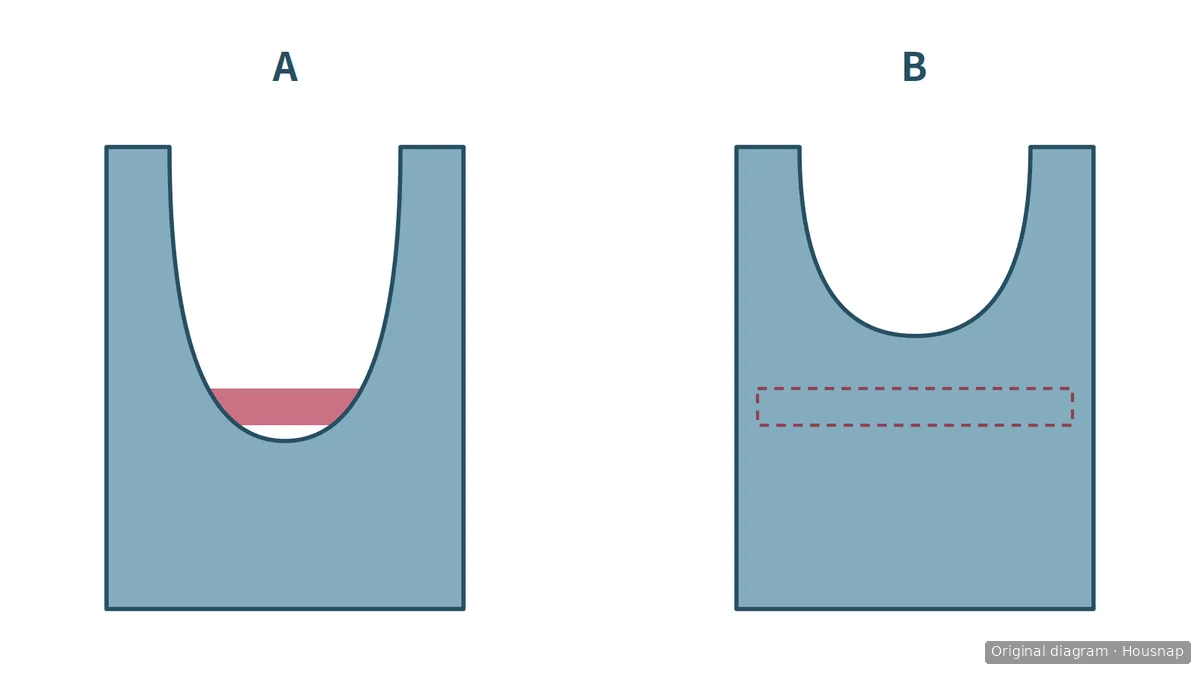
Blue represents the top and pink represents the bra’s side band. A leaves part of the band visible through a deeper opening; B places the top over it. The dashed outline in B marks the hidden band for explanation, not transparent fabric. These are simplified shapes, not measurements or a guarantee of fit in motion.
If the edge flares outward even though it is high enough, do not assume a smaller size will solve it. Seamwork’s patternmaking tutorial identifies bust-dart and armhole-shaping problems as possible causes of gaping. A dart is a stitched fold that gives fabric shape around the bust. For a ready-made purchase, compare another cut if sizing down makes the chest tight; the tutorial does not establish that every finished blouse is easily altered.
Ask for the dimensions the listing leaves out
Use product photos to shortlist openings, then ask about anything they do not show. A useful message is: “For this size, can you provide the shoulder-panel width and an armhole-depth measurement with a diagram showing the endpoints, plus a side and back view?” Compare those dimensions with a sleeveless top that already gives you the coverage you want, using the same measuring method.
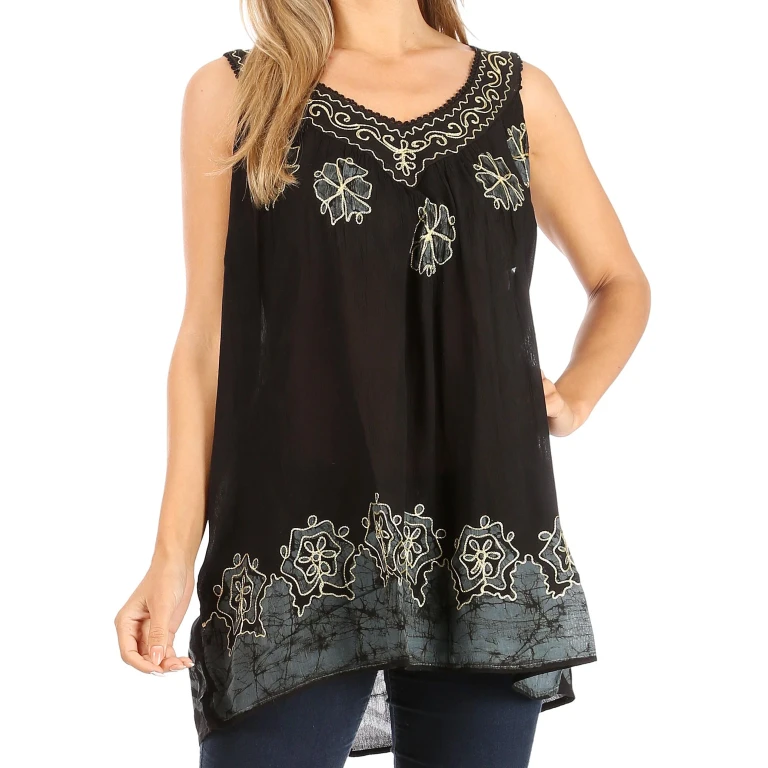
The Sakkas Batik Embroidered V-Neck Sleeveless Blouse page, for example, describes a relaxed fit and a one-size US 0–14 range. Its 27-inch length is measured from centre back to hem. None of those statements tells you where the armhole will meet your bra, so they cannot settle this buying decision alone.
The same page specifies cold hand washing and hanging to dry. Check whether the actual candidate’s care requirements suit you before ordering, alongside the seller’s try-on and return conditions.
If a chart mixes body measurements with finished-garment dimensions, use the guide to body versus garment measurements to sort out the numbers. That distinction helps with comparison; it still cannot predict every opening from chest size alone.
Move, let go, then decide
With the intended bra and top on, stand normally, reach forward, raise your arms and sit down. Lean forward as you would in everyday use, then return upright. Look from the front, side and back without holding the top in position or resetting the bra between every movement. This is a practical fitting routine, not a standardized coverage test.
Check two things separately: whether the bra appears through an opening, and whether it shows through the fabric. Passing the opening check does not answer the second question; inspect the actual colour and fabric in the light where you expect to wear it.
- Keep the candidate if it gives you the coverage you want and stays comfortable through those movements.
- Compare another cut if the band or cup edge keeps appearing, the shoulder panel misses the strap, or the armhole presses into you.
- If the top only works with an extra camisole or different bra, decide whether you actually want that outfit and expense before buying. Otherwise, leave it out of the shortlist.
The useful result is a top you can wear with your intended underwear without repeatedly arranging it.
How this guide was built
This guide was written by AI for Housnap, using Bravissimo’s fitting guidance, Sakkas’s product information and Seamwork’s patternmaking tutorial. The buying sequence and movement checks are editorial suggestions, not original product testing or a guarantee that a particular blouse will cover your bra.