Match the parts to your model before removing them
Start with the model number and the manual’s cleaning and assembly diagrams. Identify the removable inner lid, the steam cap and any gasket explicitly shown as user-removable. A detachable lid assembly does not automatically mean its seal can be pulled off separately.
KitchenAid’s Grain and Rice Cooker guidance provides a CLEAN INNER LID screen for reviewing disassembly. If your model has that guide, review it before unplugging; carry out the cleaning only after unplugging and complete cooling.
Before moving anything, compare the actual attachment points with the diagram. A photo of your assembled parts can help you remember their orientation, but the manual decides how they come apart. If the pictured release or part does not match, stop and confirm the model. This guide does not cover pressure mechanisms or opening the outer lid housing.
Separate the washable cap from the area you wipe
Zojirushi’s steam-cap explanation distinguishes two jobs for the advanced rice cookers it describes: rinse the removed cap under running water, and wipe its receptacle with a soft cloth. A manufacturer reply on the same page recommends a soft sponge, rinsing and drying for residue on the cap.
Use those methods only where your own manual permits them. For the inner lid, check its separate washing instructions, including whether its gasket stays attached. Choose detergent, water temperature and any soaking method from that guidance rather than borrowing a routine from another cooker.
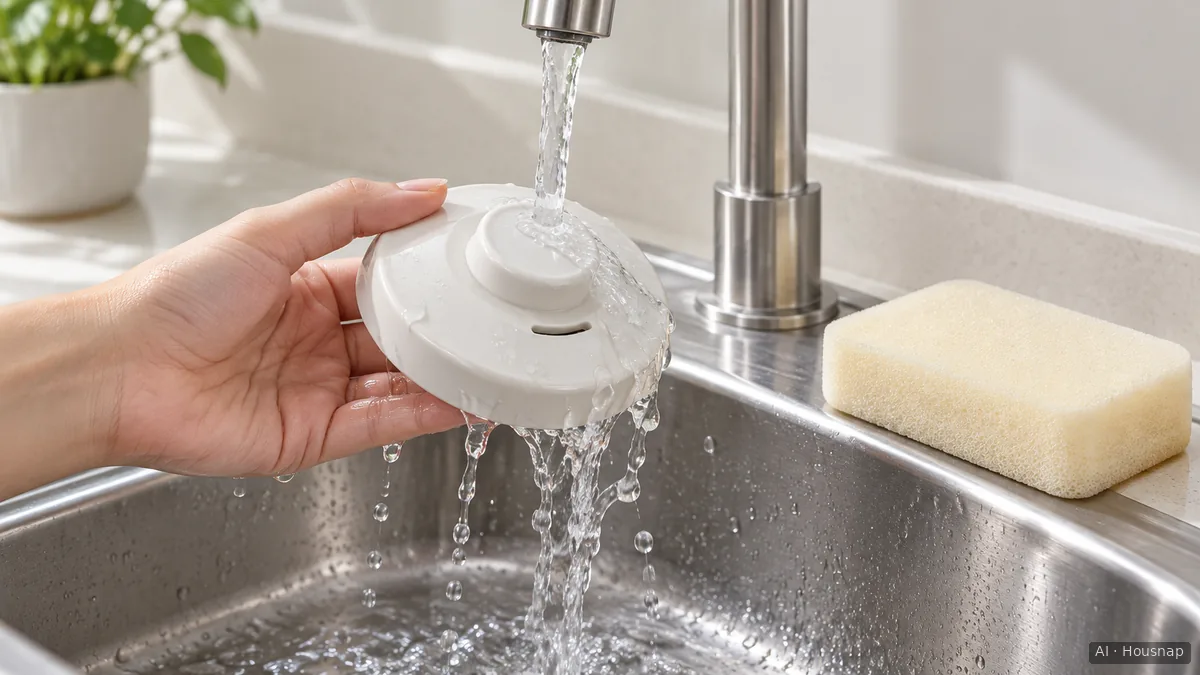
This illustration shows a cap being cleaned separately. It does not show how to release your cap, position a gasket or confirm compatibility.
A clean soft cloth and a soft, non-abrasive dishwashing sponge are the useful tools here; use suitable ones you already own. KitchenAid excludes abrasive cleaners and metal scouring pads. Its dishwasher permission specifically names the ceramic pot, so do not extend that permission to the inner lid or steam components without their own instructions.
Refit the parts while the cooker is cool
After cleaning, finish drying as your manual directs and keep the cooker unplugged for reassembly. Check three things against its diagrams:
- Orientation: match the front, back and attachment points before engaging the part.
- Completeness: account for every user-removable piece, including a gasket only where the manual shows one.
- Attachment: follow the stated engagement method and check the finished position before closing the outer lid normally.
KitchenAid’s closure troubleshooting says the covered cooker needs its inner lid installed to operate and close, and directs users to check all lid-part positions.
If the cap is loose, compare its pieces with the manual rather than pressing harder. Zojirushi’s reply to a loose-cap question specifically asks whether a gasket is missing; another reply notes that an incorrectly oriented inner lid may be difficult to fit. These are checks to make, not a diagnosis of every closure problem. Do not start a cooking cycle to find out whether an uncertain assembly is correct.
Stop when cleaning becomes a repair
Missing pieces, visible damage or continued difficulty fitting the parts are reasons to contact the manufacturer with the model number and photos. Ask whether the affected part is user-replaceable and which exact replacement is approved.
The distinction matters: in its HTC-18 reply, Zojirushi says cleaning will not fix the worn inner lid being discussed and that the inner lid cannot be disassembled. In its NP-GBC05 reply, gasket replacement requiring the lid housing to be opened is treated as a repair. Neither example authorizes dismantling another model.
If suitable repair or replacement parts cannot be arranged and you decide to replace the appliance, continue with choosing between basic, Micom and pressure rice cookers. Routine cleaning alone is not a reason to buy a new machine.
Como este guia foi construído
Written by AI for Housnap, using KitchenAid’s cleaning and closure guidance and Zojirushi’s steam-cap article and manufacturer replies. This guide separates routine removable-part care from model-specific repair; it does not report hands-on testing or replace your cooker’s manual.