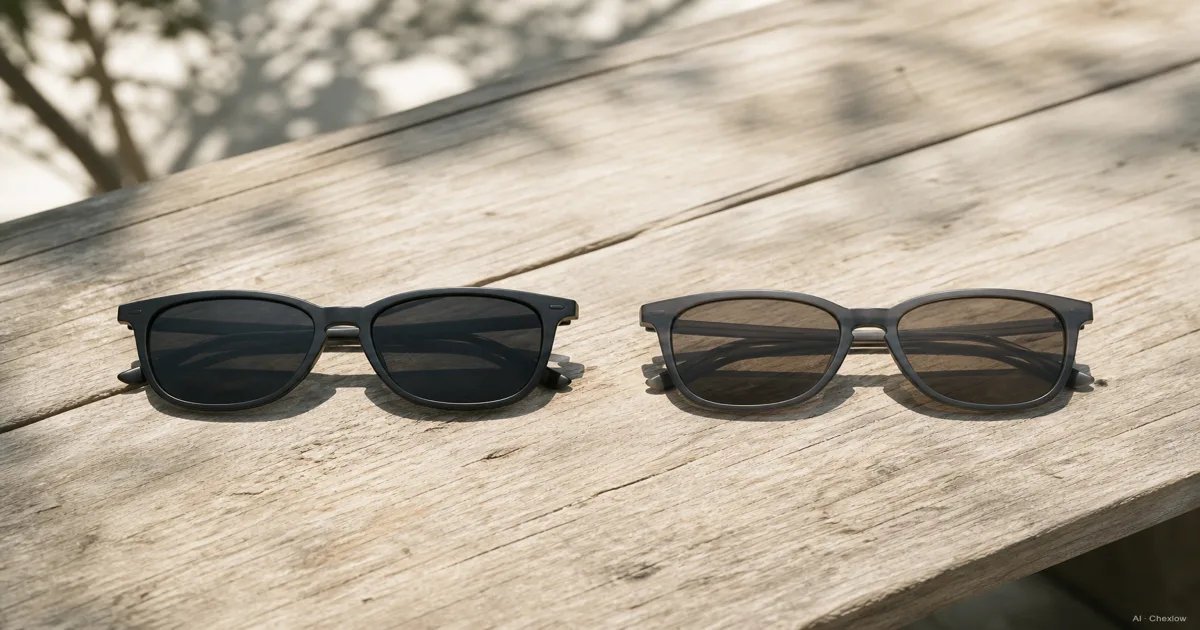
Check UV protection before comparing polarization
Look for UV400 or 100% UV protection in the product information. Dark lenses alone do not establish UV protection. The FDA explains both checks.
UV400 and polarized are not competing options: one pair can have both. Warby Parker, for example, gives its polarized and non-polarized lenses the same UV protection. That illustrates why you should check the two features separately, rather than infer protection from polarization. (Warby Parker)
If the listing only says “sun protection,” ask the seller for the actual UV specification before choosing.
Decide whether reflected glare is your main problem
Polarization filters horizontally oriented reflected light, reducing glare from surfaces such as water and roads. That is the useful difference to look for when comparing lenses. (ZEISS)
- Try polarized first if water reflections or daytime road glare regularly bother you.
- Keep non-polarized in the comparison if reflections are not your main concern. Judge the actual view and fit rather than treating polarization as a compulsory upgrade.
Try both while looking at the same reflective scene. Compare the remaining reflection and visible detail, not just how dark everything looks.
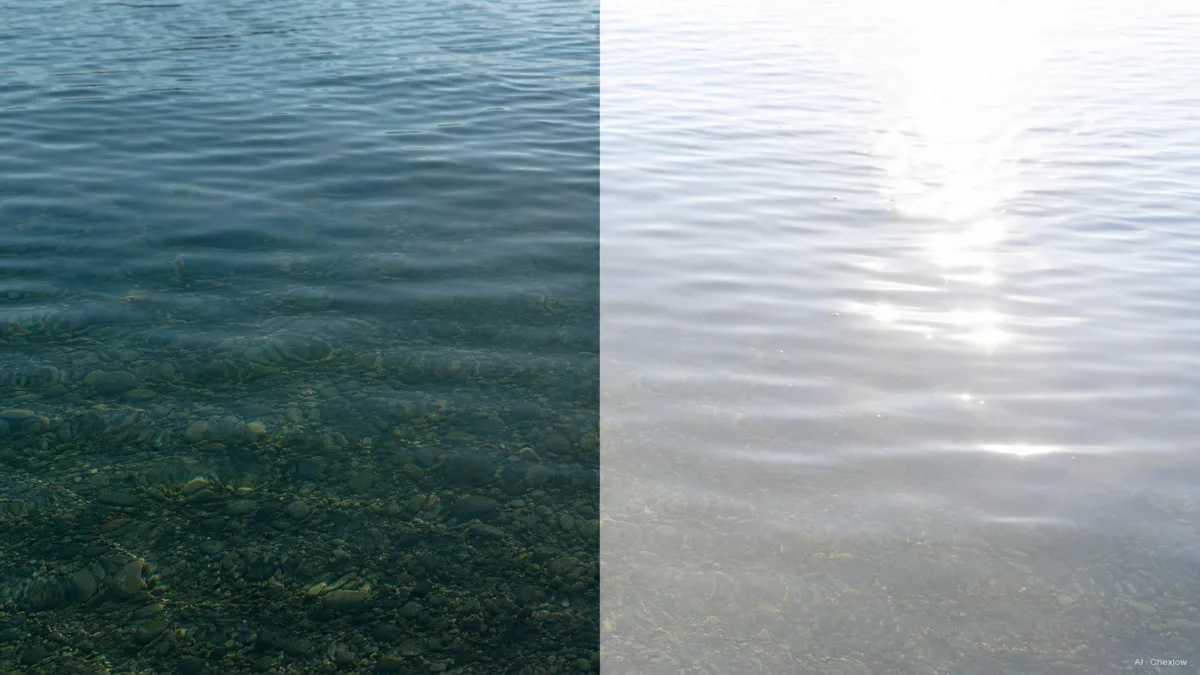
This illustration explains reflection filtering; it is not a measured comparison between two sunglasses models.
Check your phone and dashboard before committing
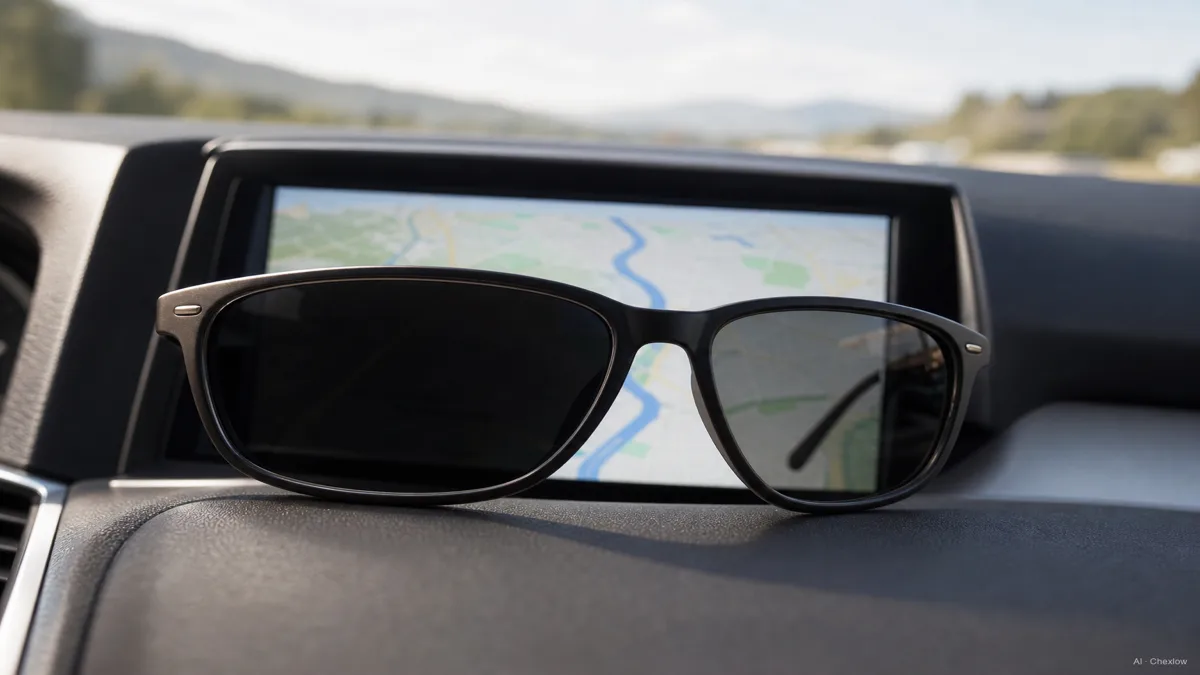
Polarized lenses can make LCD screens appear dark. Warby Parker recommends checking actual displays, while ZEISS describes a different polarization design intended to improve screen readability. Treat compatibility as something to check with the particular pair.
- Phone: Read a familiar screen in portrait and landscape orientation, then gently tilt your head.
- Car: While safely parked, check the instruments and navigation display from your normal seating position.
- Decision: If essential information becomes difficult to read, compare another lens, including a non-polarized option with verified UV protection.
Choose lens darkness for the light you use them in
Where the label uses lens categories, Australia's ACCC guide distinguishes these everyday choices:
- Category 2: Medium glare reduction and a brighter view.
- Category 3: Higher glare reduction and a darker view.
- Category 4: Special-purpose lenses, unsuitable for driving.
Compare category 2 and 3 rather than automatically choosing the darker pair. For driving, check the product's suitability warning and whether signal colours remain recognisable. Neither polarized nor non-polarized sunglasses are a solution for night driving; ARPANSA also advises against wearing sunglasses when driving at twilight or in dull light.
Finish with fit, then choose the frame shape
A good fit helps limit light entering above, below and beside the lenses. The National Eye Institute recommends comfortable frames that stay in place and cover the surrounding eye area.
Wear each finalist, look down and turn your head. Reject a pair that slips or presses uncomfortably. Before paying, keep a simple record: the UV specification, polarization choice, lens category and result of your screen check.
Once those checks are settled, compare aviator and wayfarer shapes for your first pair. That guide addresses the remaining frame-style decision; the lens checks here still apply.
Wie dieser Guide entstand
Written by AI for Housnap, using public guidance from the FDA, National Eye Institute, ARPANSA and ACCC, alongside lens explanations from Warby Parker and ZEISS. The comparison and try-on sequence are editorial guidance for a first purchase, not product testing or an individual eye-care assessment.