
Find out which thermostats your system can use
Start with the heating and cooling equipment, not the thermostat’s screen. This guide focuses on replacements for conventional low-voltage controls; it is not a wiring guide for every boiler, electric heater or room air conditioner.
Use Google’s compatibility guidance to distinguish compatible 24 V systems from high-voltage or proprietary controls. If you see a 120/240 V label or cannot identify the system, stop and ask an installer. A heat pump paired with a furnace is a dual-fuel system; Google requires professional Nest setup for that configuration.
Before inspecting accessible low-voltage thermostat terminals, switch off the heating and cooling equipment at its breaker or service switch. Photograph the connected terminals without disconnecting wires. Follow the manufacturer’s inspection instructions if the cover is not straightforward to remove.
Save the terminal labels and equipment details, then use the prospective manufacturer’s checker, such as ecobee’s compatibility tool. Ask about heating and cooling stages, meaning the equipment’s separate output levels, and any existing zone controls. A vague “works with heat pumps” listing is not enough to settle your particular installation.
Resolve the power supply before buying an adapter
The C-wire, or common wire, helps provide continuous power. Its presence is useful information, but it is not a complete compatibility verdict. Google’s C-wire guidance explains why some Nest installations need a C-wire or compatible power accessory and others do not.
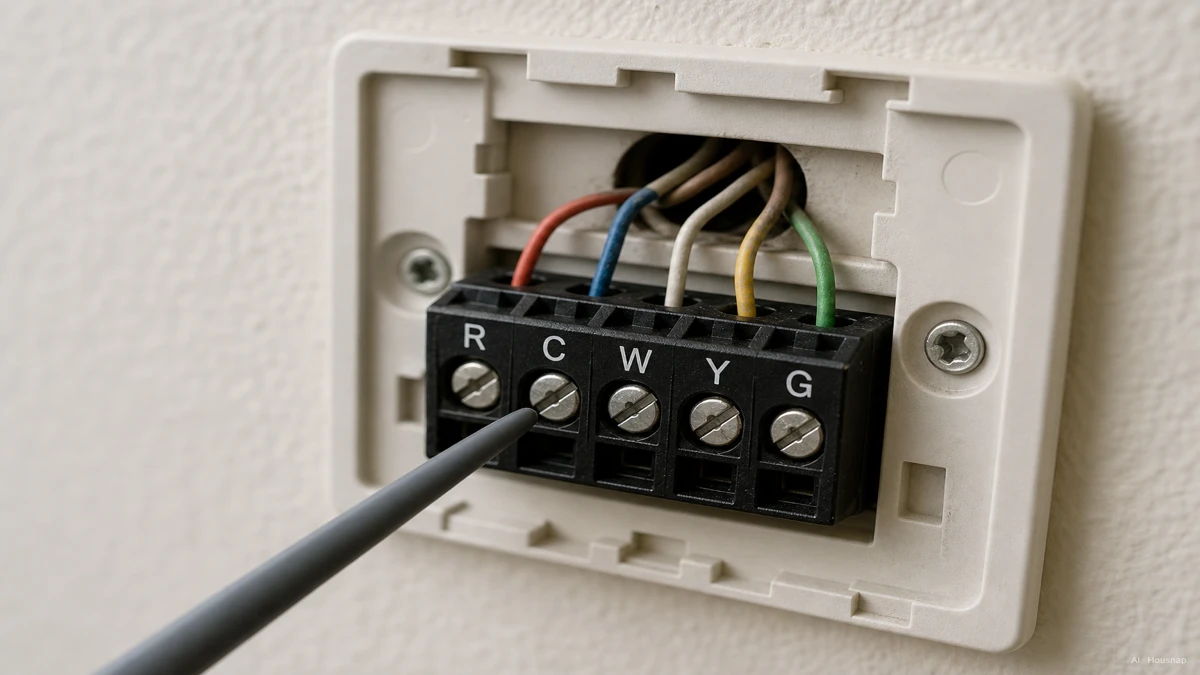
Treat the illustration as a way to recognise labels, not as your wiring diagram. Your installation needs its own manufacturer-approved connections.
- C-wire confirmed. Save the compatibility result and follow the exact model’s installation instructions.
- No C-wire. Get a confirmed power solution and installation quote before choosing the thermostat.
- An ecobee PEK is specified. Check the box contents before buying one separately. The Power Extender Kit is an ecobee-only solution for compatible 24 VAC systems, not a universal adapter. High-voltage, dual-transformer and communicating systems are among its exclusions.
If the solution involves an equipment control board you cannot confidently identify or access, have an installer handle it. Do not order a generic power adapter just because its listing mentions C-wire.
Choose the feature that solves your daily annoyance
Write down what you want to stop doing: walking to the wall, adjusting a schedule, or compensating for a bedroom that feels different from the hallway. That gives you a more useful shortlist than budget, mid-range and premium labels.
- You want predictable settings. Start with an editable schedule and phone control. Learning is optional: the plain Nest Thermostat does not use Auto-Schedule, and learning differs between generations of Nest Learning Thermostat. Check the exact model’s scheduling behaviour.
- You want another room to guide the temperature. Compare compatible room sensors. A Nest Temperature Sensor can provide that reference, but adding one does not create separate heating zones. It measures temperature, not occupancy. Google lists compatible North American Thermostat E and Learning Thermostat third- and fourth-generation models, not the plain Nest Thermostat. Check sensor and regional compatibility before adding it.
- You want fewer adjustments when leaving home. Look for an explicitly listed away-detection or geofencing function, which uses your phone’s location. ENERGY STAR describes these separately from learning, so do not assume one feature includes the other. Feature guidance.
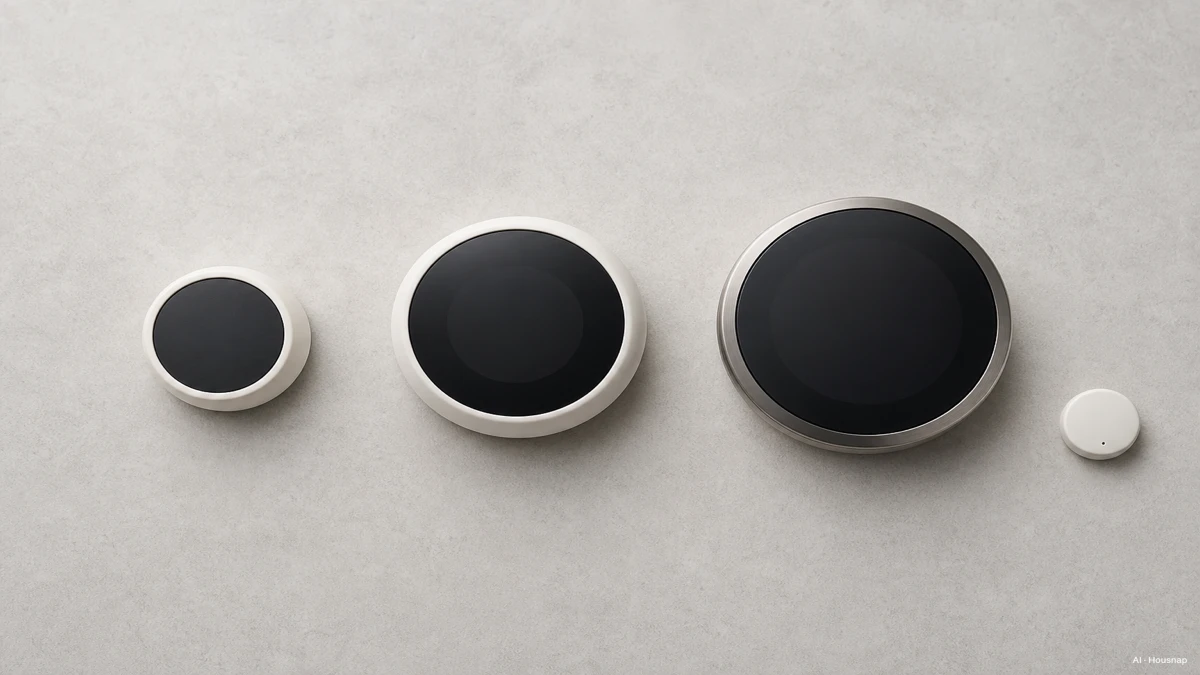
The illustration shows different product formats, not a tested ranking. Keep two compatible candidates and write the extra daily benefit beside the more expensive one. If you cannot name that benefit, a higher tier has not earned its place.
Check the app and home network you will actually use
Put your preferred home app on the shortlist alongside the thermostat model. Verify the connection method, required hub and the controls you need in that app. Do not infer support from the brand name or a similar-looking earlier model.
For Google Home, Matter setup requirements include a compatible hub. A device using Thread also needs a Thread Border Router. Matter support does not mean every platform supports every device category at the same time, and remote Google Home commands still require internet access.
If those hub names are unfamiliar, read how Matter and Thread differ before buying extra hardware. Use that distinction to check what you already own.
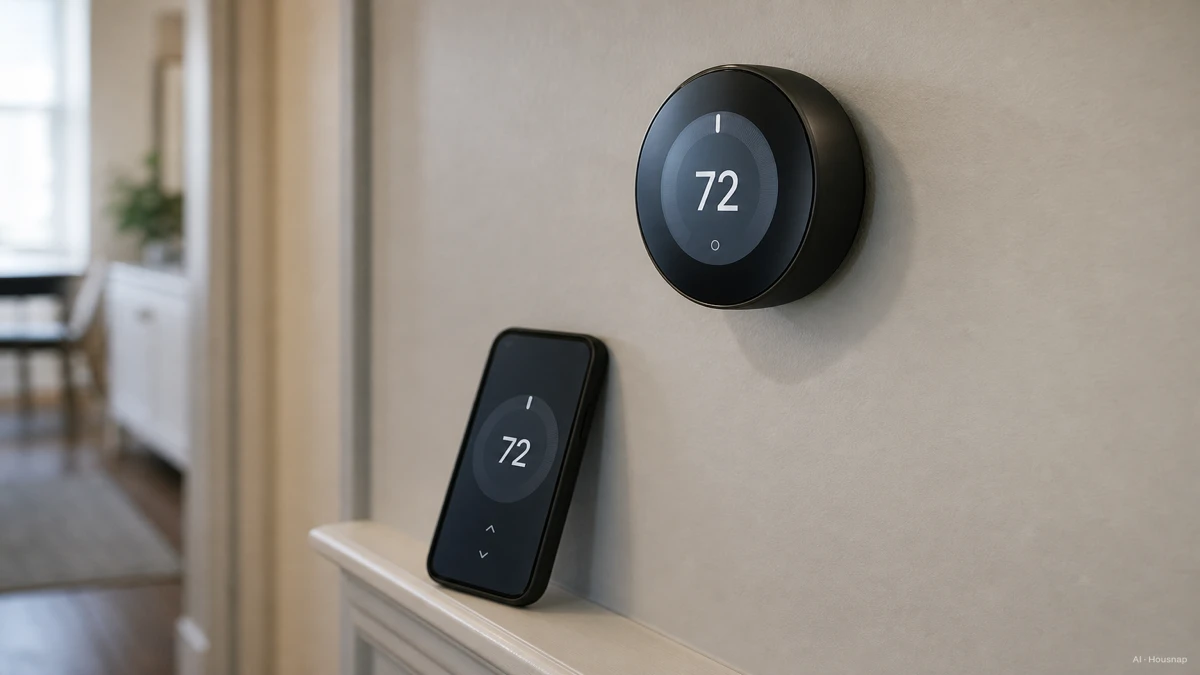
Check Wi-Fi coverage at the thermostat’s actual location, as ENERGY STAR recommends. Also ask the manufacturer which functions remain available without internet and how household members can change the temperature without your phone.
Compare the installed cost, then make the call
Compare the same complete setup for both candidates: thermostat, any required power accessory, optional room sensor, required hub and installation. Check what is included so you do not buy an accessory twice.
In the US, use the ENERGY STAR rebate finder as a starting point, then verify the exact model and program terms with your utility before subtracting a rebate. Elsewhere, check the applicable local program rather than importing a US incentive assumption.
For US homes using ENERGY STAR-certified smart thermostats, ENERGY STAR reports average savings of about 8% of heating and cooling bills. That is not 8% of every household energy expense or a guaranteed result; its FAQ identifies climate, occupancy, preferences and equipment as relevant factors. Avoid making the purchase depend on a promised payback date.
- Buy. Compatibility and power are confirmed, the required controls work with your chosen setup, and the installed cost is acceptable.
- Get a quote first. Wiring, zone controls or a required adapter remain unresolved.
- Keep your current control. It already handles your routine and you cannot identify a useful additional function.
Como este guia foi construído
Housnap’s AI editor wrote this guide using Google Nest and ecobee compatibility documentation and ENERGY STAR guidance. It organises those sources into a first-purchase decision for low-voltage thermostat replacements; it is not an on-site wiring assessment or a product test.