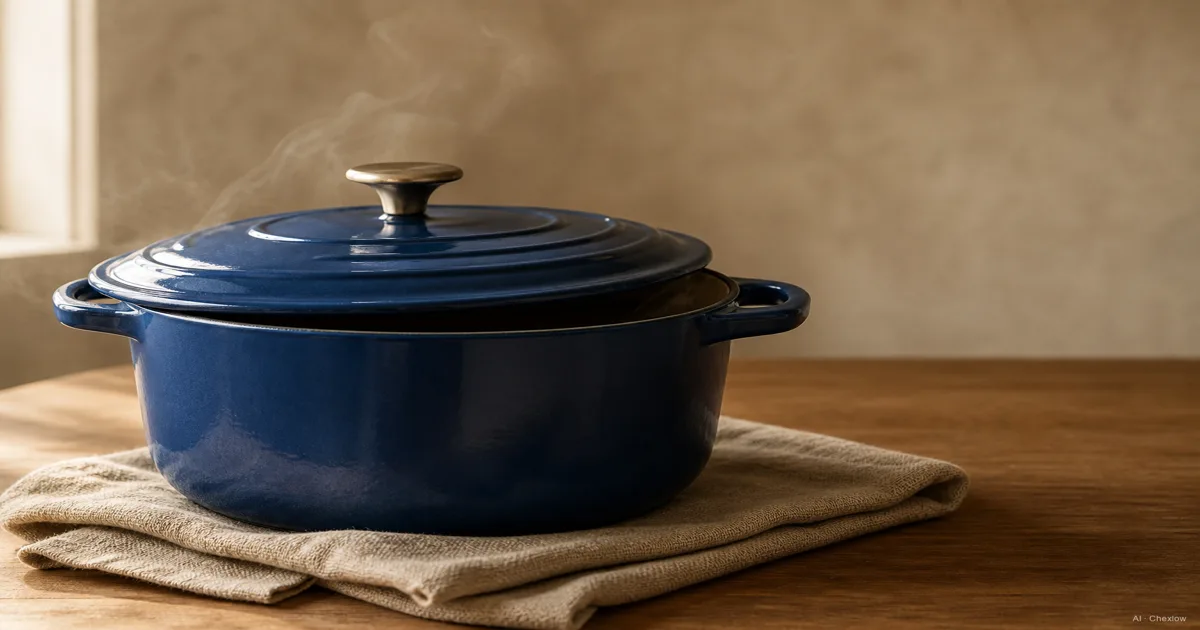
Disponíveis agora em uma única loja
No momento, cada um destes produtos está disponível em apenas uma loja. A comparação de preços abre com mais lojas.
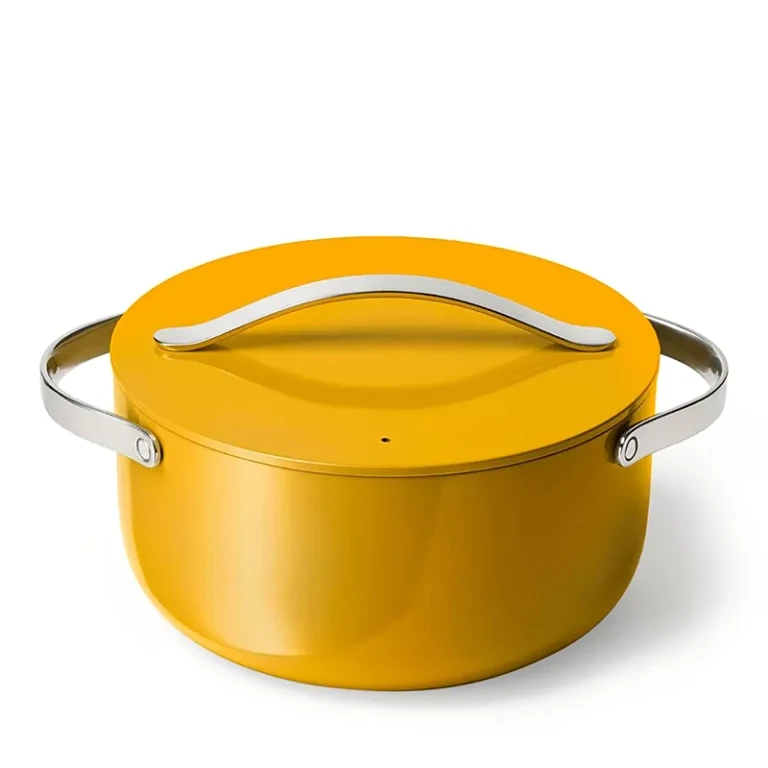
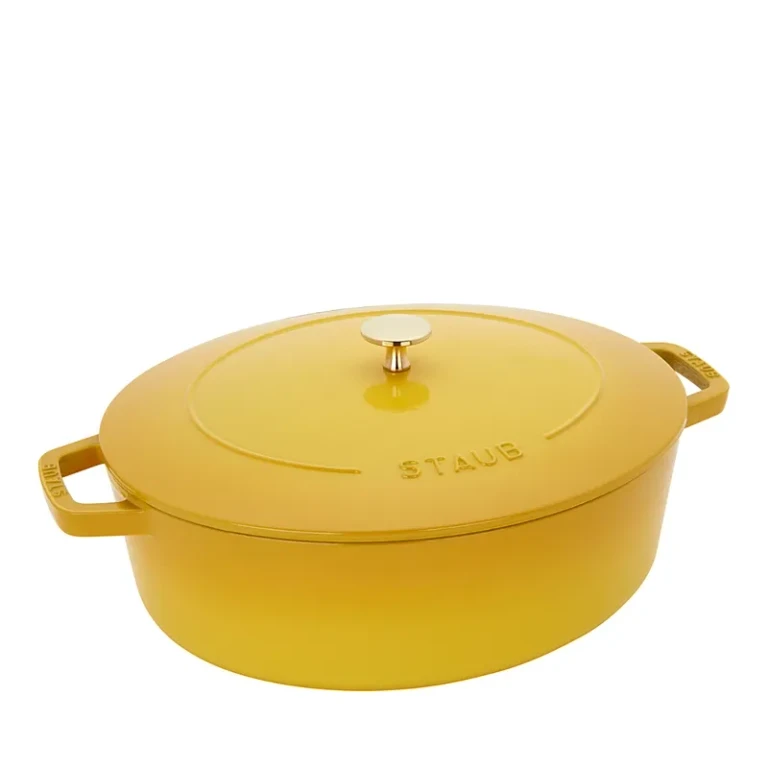
Choose the finish for your cooking
Start with a meal you actually want to make. For a tomato-based braise, enameled cast iron would be my starting point: enamel tolerates acidic ingredients without maintaining a seasoning layer. Lodge confirms both properties for its enameled cookware (enamel guidance).
Bare cast iron remains a valid first purchase if maintaining seasoning suits you. That is the baked-on oil layer described in Lodge’s seasoning overview. For frequent acidic braises, however, enamel simplifies the choice: Lodge warns that acidic ingredients can weaken seasoning, especially on new cookware.
Do not identify the coating by color alone. Black interiors can also be enamel; a pale interior makes browned cooking residue easier to see (Le Creuset’s interior finishes). Read the material description before applying bare-iron care.
Shopping for camp cooking instead? Check outdoor approval and the base design. Lodge’s camp Dutch ovens have legs and a rimmed lid for coals, features aimed at a different setup from a kitchen hob.
If your real priority is a programmed cooking schedule, explore the slow-cooker buying guide before committing to a heavy pot.
Size the meal, then choose the shape
Le Creuset suggests 5–6 US quarts for four people. Treat that as a shortlist, not a promise that every roast fits. Compare your usual recipe with the pot’s internal dimensions and capacity.
- Small batches: include smaller pots in your comparison rather than buying for an occasional gathering.
- Regular leftovers: choose around the batch you intend to cook, not just the number eating tonight.
- Large pieces: check their length and the usable base area before increasing capacity.
Round pots generally suit round burners; oval pots accommodate longer cuts (shape guidance). My default would be round for mixed stovetop cooking, oval when a particular roast repeatedly dictates the shape. Neither choice removes the need to measure.
Make the pot pass your kitchen check
Before paying, record the candidate’s external width including handles, height with the lid, empty weight and permitted heat sources. Compare those with your oven, storage space and cooktop instructions. Try gripping a cold display pot with your own mitts if possible; reject a size you already struggle to control empty.
The manufacturer’s limit must cover the lid and knob too. For induction, base size matters as well as the material (Le Creuset’s care instructions). Do not infer compatibility from the words “cast iron” alone.
Budget space for a nearby heat-resistant landing surface and dry oven mitts. Plan the lift from oven to counter before the pot contains dinner. If handling fails this check, reconsider the size rather than assuming you will manage later.
Understand the first braise before starting
Choose a recipe with a stated vessel size, ingredient quantities, cooking temperature and doneness guidance. The outline below explains the sequence; it is not a recipe with a universal cooking time.
- Brown: pat the meat dry and leave space between pieces. Browning develops flavor; it does not seal in juices (searing guidance). For an enameled beginner setup, heat gradually with oil and follow the pot’s instructions; Lodge advises against empty stovetop heating.
- Build the liquid: remove the meat, cook the aromatics, then loosen the brown residue with the recipe’s liquid. Use a wooden spoon or spatula for this contact with enamel. An existing suitable tool is enough; you do not need a new utensil set (Lodge’s utensil guidance).
- Cook gently: return the food, add the specified liquid and cover. Partial coverage is typical; use the recipe’s amount and check progress rather than treating lid weight as a guarantee against drying.
- Finish separately: when the food is ready, remove it if the sauce needs reducing. The food and sauce need not finish together (braising method).
Keep the recipe beside you and the manufacturer’s heat limits in view. A bigger burner setting is not the answer to every slow stage.
Clean according to the surface you chose
For enamel, cool the pot before washing with warm soapy water and a soft sponge. Soften stuck food by soaking the cooled interior rather than attacking it with a metal scourer (cleaning instructions). If the cooking-surface enamel chips, stop using the pot and contact its manufacturer (Le Creuset’s warning).
For bare cast iron, wash, dry thoroughly and wipe on a thin coat of oil (Lodge’s care routine). If that maintenance is the unresolved part of your purchase, the cast-iron seasoning guide explains the shared surface-care principles using a skillet. Apply your Dutch oven’s own instructions to its particular parts.
Como este guia foi construído
Written by AI for Housnap, using Lodge and Le Creuset documentation on cookware surfaces, sizing, handling and cooking. The selection priorities are editorial judgments for a first indoor Dutch oven; this article does not report hands-on product testing.