Match the bag’s limits to the water exposure
Find the exact model and read its instructions before putting belongings inside. Check separately whether it is intended for rain and splashes, whether immersion is permitted, and what closure conditions apply. If immersion is allowed, look for the stated depth and duration; missing limits are a reason to ask the maker, not invent your own.
A fabric rating cannot answer all of those questions. Hydrostatic head measures the fabric’s resistance to water pressure. The rolled opening has its own limitations: Sea to Summit explains that its roll-top closures withstand relatively modest pressure and that its dry-bag advisories exclude submersion use. Keeping rain off packed clothing and keeping equipment underwater are different demands.
Inspect the bag, then follow its closure sequence
Look at the outside fabric and inside coating before packing. Sea to Summit says not to use the bag if either is damaged. Stop and ask the maker about the damage rather than trying to compensate with extra rolls.
Leave enough empty neck to complete your model’s entire sequence. If the contents prevent that, take some out and repack; there is no fill percentage that replaces the actual closure instructions.
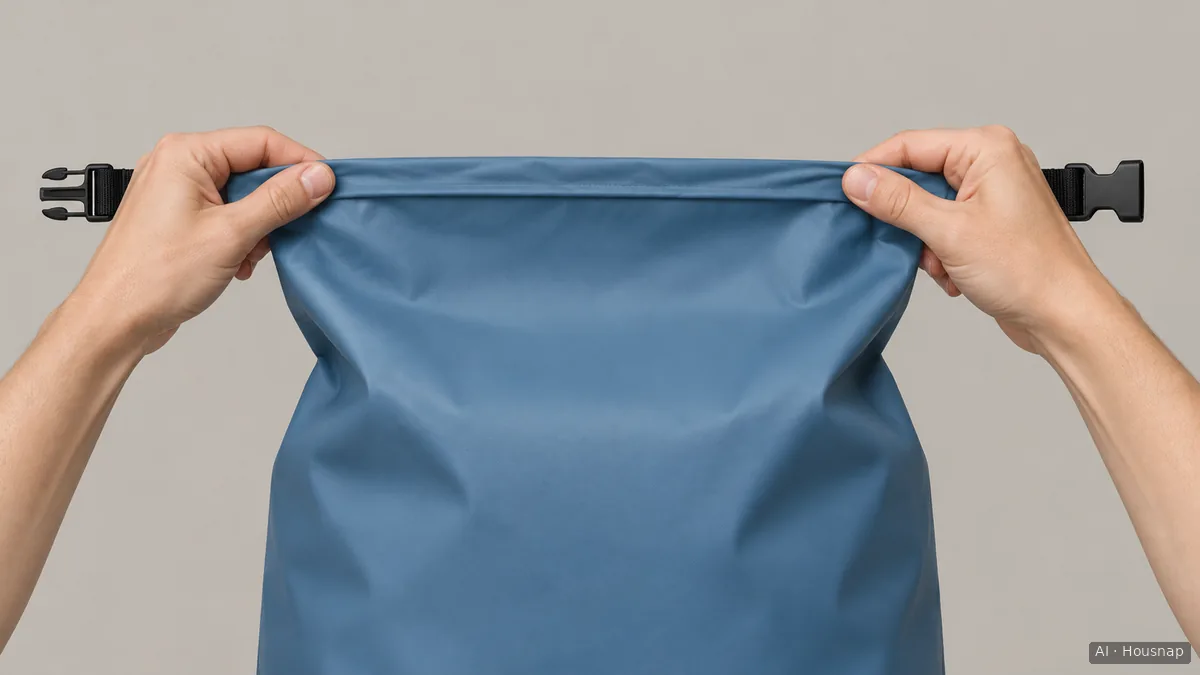
The illustration shows preparation, not a completed waterproof seal. For the closure described in Sea to Summit’s linked instructions:
- Pack the gear and squeeze out excess air.
- Fold over the black Hypalon sealing strip while keeping the fabric taut.
- Roll at least two more times in the same direction.
- Fasten the side-release buckle.
Use that sequence only where it matches your bag’s instructions. ORTLIEB’s roll-closure guide describes at least three rolls before fastening and specifies three to four for submersion. That passage does not supply an immersion depth or duration. Neither manufacturer’s roll count is a universal rule, and additional rolls do not override a model’s exposure limits.
Make a separate decision for phones and cameras
Do not let “the bag closes” become the only check for valuable electronics. Sea to Summit recommends double bagging electronics and an O-ring hard case for seriously wet conditions or valuable camera equipment. An O-ring is the sealing ring around the case opening.
Treat the extra layer as additional protection, not permission to immerse an otherwise unsuitable setup. If you need a hard case, check the exact case’s water-exposure limits, internal dimensions and closing instructions against your equipment and trip. Use a suitable case you already own; buying another dry bag is not an automatic solution to an unresolved immersion requirement.
Finish packing without sacrificing the closure
Before setting off, make three decisions:
- Can you complete every part of the specified closure with this load? If not, repack.
- Does the planned water exposure fit the exact product’s documented limits? If not, change the protection arrangement or keep the contents out of that exposure.
- Is protection for electronics resolved separately? If not, settle that before putting them inside.
If the dry bag will go inside a hiking pack, check the space it occupies after closing it properly. Do not undo necessary rolls just to make it fit. If the remaining question is which hiking pack can carry the complete load, continue with choosing a daypack or overnight backpack using your actual equipment.
Wie dieser Guide entstand
Housnap’s AI wrote this guide using Sea to Summit and ORTLIEB manufacturer documentation. It focuses on closure instructions, water-exposure limits and protection decisions for belongings; the exact product’s instructions remain decisive.