Your First LED Strip Light, What the Specs Actually Mean
You find the strip you want, and then the listing throws a wall of jargon at you. 12V or 24V. SMD2835 or SMD5050. 60, 120, or 240 LEDs per meter. IP20, IP65, IP67. It reads like a spec sheet for something far more complicated than a strip of light with an adhesive back. Every one of those codes answers a real question, and none of them are optional trivia. Get the voltage wrong on a long run and the far end goes dim. Get the IP rating wrong in a kitchen and the strip fails within a season. Get the power supply undersized and the whole thing degrades faster than it should. This guide decodes the five specs that actually decide whether a strip works in your room, walks through basic versus smart color-changing strips, and covers the power supply math and mounting basics that most first-time buyers skip until something goes wrong.
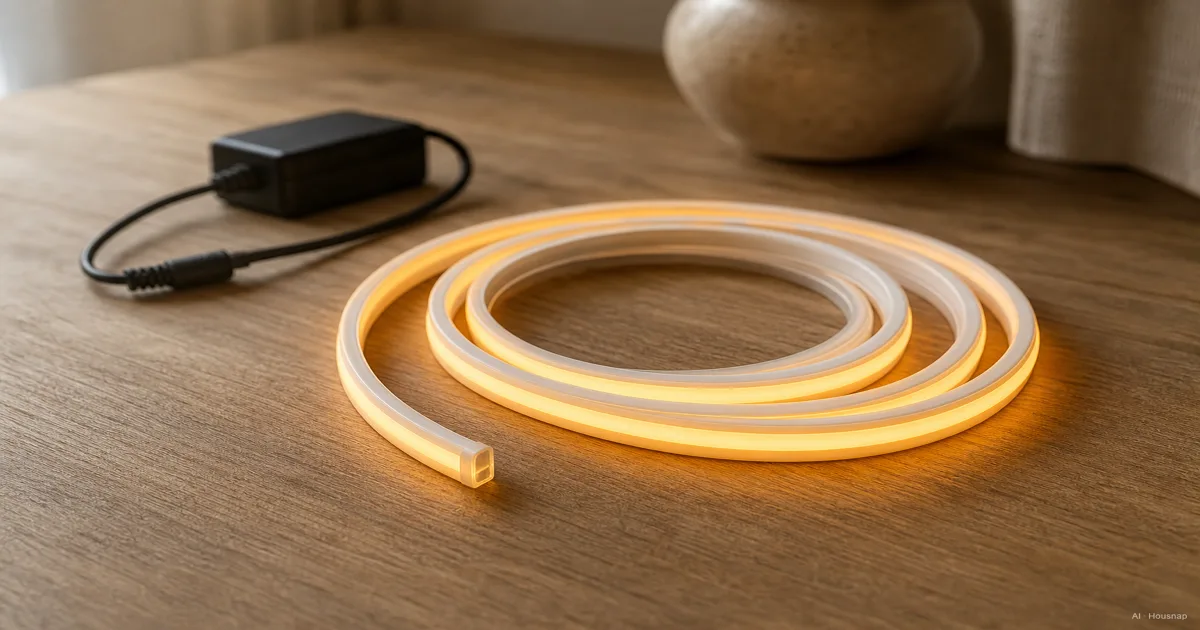
Aktuell bei einem Shop erhältlich
Diese Produkte sind derzeit jeweils nur bei einem Shop erhältlich. Der Preisvergleich öffnet sich mit weiteren Shops.
What Is LED Strip Lighting and How Does It Work
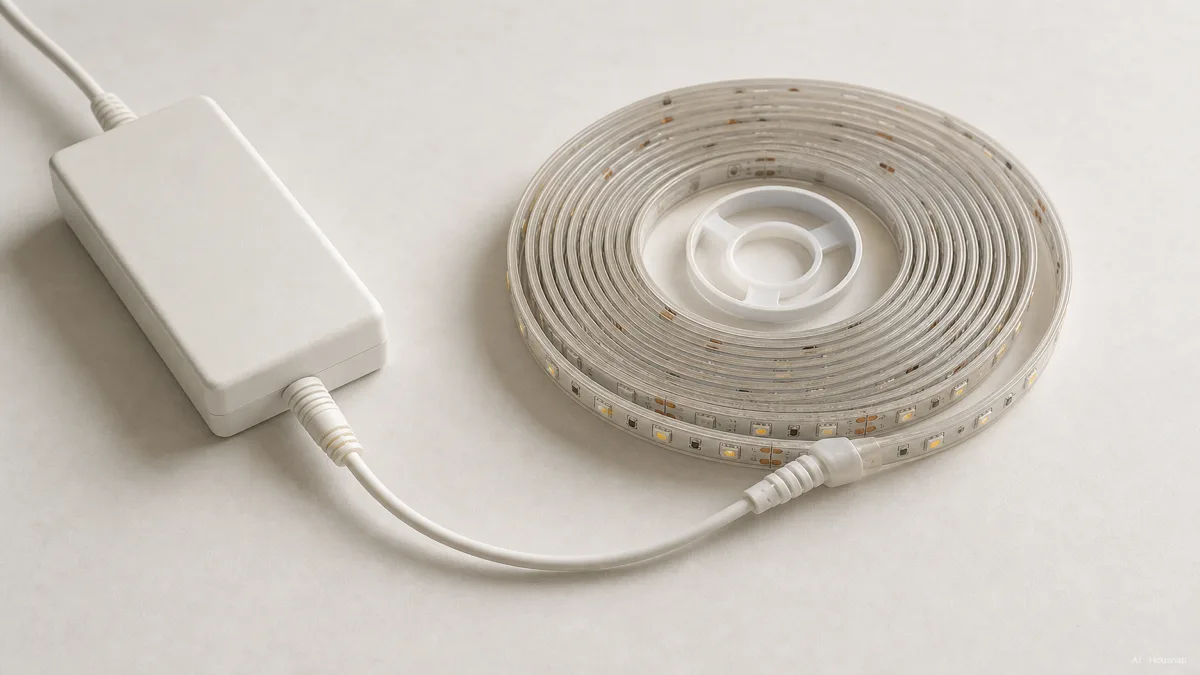
An LED strip light is a flexible circuit board, thin enough to bend around corners, populated with small surface-mount LEDs (SMDs) and usually backed with adhesive tape. It looks simple, and mechanically it is, but the first mass-produced versions only reached the consumer market in the early 2000s, as the Wikipedia entry on LED strip lights lays out. What used to require an electrician now peels off a roll.
The detail that trips people up first is power. A strip does not plug into a wall outlet the way a lamp does. It runs on low-voltage DC, either 12V or 24V, delivered by a dedicated power supply or driver that steps mains electricity down. USB-powered strips are the exception, running on standard 5V DC straight from a USB port, which is why the small under-desk or TV-backlight strips can skip a separate driver entirely.
Between 12V and 24V, longer continuous runs favor 24V. Voltage drop, the strip getting visibly dimmer toward the far end of a long run, is less severe at 24V than at 12V for the same length and wattage, a point LedSupply's buying guide walks through in detail. A short run under a few cabinets barely notices the difference. A strip wrapping an entire room does.
Key Specs to Check Before You Buy, Voltage, LED Density, and Chip Type
Once voltage is settled, the next code on the listing is the chip type, usually written as SMD followed by four digits, like SMD2835 or SMD5050. Those digits are the chip's physical dimensions in tenths of a millimeter, so SMD5050 measures 5.0mm by 5.0mm and SMD2835 measures 2.8mm by 3.5mm, as Elstar's comparison of the two breaks down.
The size difference is not cosmetic. SMD5050 packages three diodes inside one chip, which is what makes RGB and RGBW color mixing possible on a single strip. SMD2835 is a single-diode chip, and for single-color strips it delivers roughly 20 percent more light while drawing roughly 20 percent less power than SMD5050 doing the same job. If you want plain white light and nothing else, SMD2835 is usually the more efficient pick. If you want color, SMD5050 is doing work SMD2835 physically cannot.
Then there is density, how many LEDs sit in each meter of strip. Common numbers run from 60, to 120, to 240 or higher. Higher density means smoother, more even light with fewer visible hot spots, which matters most under open shelving or behind a thin diffuser where individual dots would otherwise be visible. It also means more power draw and a higher price per meter, so a dense strip is a deliberate choice, not automatically the better one, per SuperBrightLEDs' guide.
IP Rating and Color Temperature, Matching the Strip to Your Room
The IP, or ingress protection, rating is the one spec that determines whether a strip is even safe to install where you are planning to put it. Skipping this check is the most common first-buyer mistake.
IP20 is the base rating, meaning no real protection from moisture. It belongs strictly indoors, in dry rooms, on a wall or under a shelf with no risk of splashes.
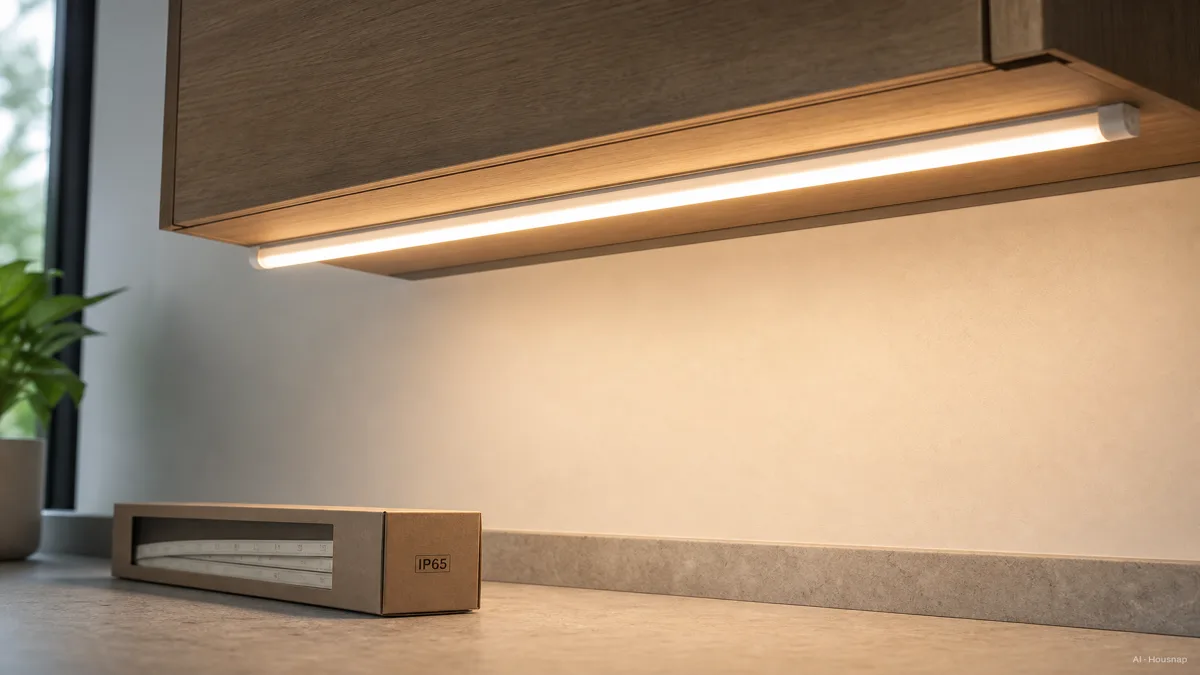
IP65 adds splash resistance, enough for a kitchen backsplash, a bathroom mirror frame, or a covered outdoor porch where rain reaches only at an angle, if at all.
IP67 or IP68 means fully waterproof, sealed enough for direct outdoor exposure, garden borders, or even submersion, the tier you need for a pond edge or a fully exposed patio, as LED Light Expert's guide details.
Color temperature, measured in Kelvin, works the same way it does for smart bulbs, and pairing it correctly with the room matters just as much on a strip. Warm white sits around 2700K to 3000K and suits bedrooms and living spaces. Neutral lands around 4000K for kitchens and workspaces. Daylight runs 5000K to 6500K for garages and task lighting. Buying a strip at a different CCT than your existing room fixtures is the easiest way to make a space look mismatched even when every individual light looks fine on its own.
Basic vs Smart, RGB, RGBIC, and App-Controlled Strips
Strips split into three real categories. Single-color, or fixed white, strips are the simplest and cheapest, one CCT, on or off, sometimes dimmable. Tunable white strips add the ability to shift between warm and cool CCT the way a smart bulb does. RGB or RGBIC strips add full color control on top of everything else.
The RGB versus RGBIC distinction is worth knowing before you spend the extra money. A standard RGB strip shows one color across its entire length at any moment. RGBIC strips use individually addressable LED segments, so different sections of the same strip can show different colors at the same time, a gradient or a moving pattern instead of one flat wash.
In the smart strip market specifically, three names come up repeatedly and split cleanly by price and ecosystem, per a comparison from GoSmart Asia. Govee is the budget and value leader, with a 5-meter RGBIC starter kit starting around $30 and no hub required to get running. Nanoleaf has the strongest native experience inside Apple HomeKit and Thread setups. Philips Hue is the premium option, starting around $130 and requiring a Bridge, but it delivers the strongest CRI 95+ white light quality in the group and is the only mainstream strip with true HDMI TV sync through its Play Gradient and Sync Box hardware.
All three now support Matter, so a strip bought for one ecosystem can still bridge into Apple Home, Google Home, Alexa, or SmartThings rather than locking you into a single app forever.
Installation Basics, Power Supply Sizing, Mounting, and Common First-Time Mistakes
The last decision happens after the strip arrives, and it is the one most first-time buyers skip. A power supply needs headroom. The rule of thumb is to choose a driver rated at least 10 percent above the strip's total wattage draw, calculated from the strip's watts-per-meter spec times the total length you're installing. Running a driver at its exact rated limit, or worse, over it, is the most common reason strips dim early or fail within months.
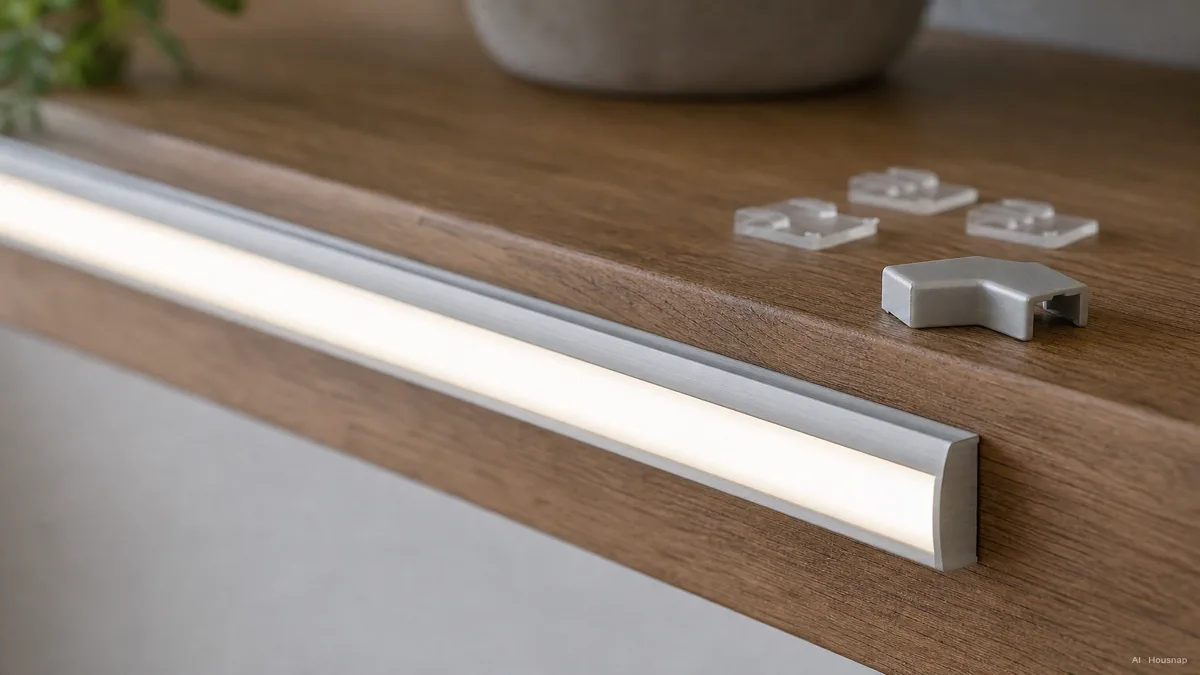
Mounting depends on where the strip is going. A clean, flat, dust-free surface is all the built-in adhesive backing needs, and most indoor bedroom or shelf installs stop there. Corners, curves, stair edges, or anywhere the strip needs to survive years of handling call for aluminum channels with diffusers, which also help spread the light more evenly and protect the strip itself. Outdoor runs or anywhere near a sink benefit from additional mounting clips, since adhesive alone loses grip faster in heat, cold, or humidity.
Plan the mounting and the power supply before you buy, not after the strip is already stuck down. Measuring the run, picking the corner hardware, and sizing the driver up front turns a fussy first install into a fifteen-minute job.
Sources
- LED strip light — Wikipedia; what an LED strip is and its early-2000s mass-production origin
- Ultimate guide on buying LED strip lights — LedSupply; 12V vs 24V voltage drop over long runs
- Ultimate LED strip lighting guide — SuperBrightLEDs; LED density tradeoffs between 60, 120, and 240+ LEDs per meter
- LED 5050 vs 2835, which is better, brighter? — Elstar; SMD chip size, diode count, and light output differences
- LED strip lights guide — LED Light Expert; IP20/IP65/IP67 rating breakdown by install location
- Govee vs Nanoleaf vs Philips Hue, the definitive 3-way smart light comparison — GoSmart Asia; pricing, ecosystem, and Matter support across the three smart strip brands
Wie dieser Guide entstand
This piece extends the smart-lighting cluster from bulbs into strips, starting from the moment a first-time buyer hits a listing full of unexplained codes, 12V or 24V, SMD2835 or SMD5050, IP20 or IP65. The spine is that a strip is really five stacked decisions, voltage, chip type, density, IP rating, and color, and that reading them correctly turns a confusing spec sheet into a straightforward room-by-room choice. We anchored the strip mechanics and voltage-drop reasoning on Wikipedia and LedSupply, the chip comparison on Elstar, LED density on SuperBrightLEDs, IP ratings on LED Light Expert, and the smart-strip brand and ecosystem comparison on GoSmart Asia's Govee/Nanoleaf/Philips Hue write-up. The selection lens sits on Housnap's smart lighting catalog, which is still growing in this sub-category, so the framing stays general buying-guide language rather than claims about exhaustive in-stock selection.