Check what your model lets you remove
Empty the reservoir and identify the instructions for its exact model. Check how the hose disconnects, which bite-valve parts come off, and whether reversing the bladder or using a dishwasher is permitted. If a connection does not release as described, stop rather than pulling harder.
The bite valve is the mouthpiece you bite to drink. HydraPak’s cleaning guide describes removing a silicone sheath and post from its valve and reversing its reservoirs for scrubbing. Those instructions are examples for the designs covered, not a disassembly method for every hydration system.
Wash the whole drinking path, then rinse
For the Hydraulics procedure, Osprey specifies warm water and mild washing-up liquid and excludes bleach and boiling water. Follow your own reservoir’s permitted cleaner and temperature instead of borrowing a stronger cleaning recipe.
- Wash the bladder interior and its opening with an appropriate reservoir brush.
- Clean the disconnected hose with a suitably sized hydration-tube brush. A reservoir cleaning kit is useful if you lack brushes that reach these surfaces; keep using suitable tools you already own.
- Wash the removable bite-valve parts according to the model instructions. Rinse the bladder, hose and valve parts until cleaning residue is gone.
For a deeper clean, HydraPak recommends Bottle Bright cleaning tablets. A tablet is an optional cleaning aid, not a reason to skip brushing or rinsing: check reservoir compatibility and follow the cleaner’s dosage, soaking and rinsing directions. Do not improvise a dose for a different product.
Give the bladder, hose and valve their own drying check
Drain the components, then arrange them so their interiors can dry. CamelBak’s drying guidance calls for keeping the reservoir open and hanging the drained tube vertically with both ends open, rather than leaving it tightly coiled.
A compatible reservoir drying rack can help keep the bladder’s inner surfaces apart. Osprey specifies its Hydraulics cleaning-kit rack for this step; confirm the fit before buying a rack for another reservoir. Use a clean place with good airflow for the removable valve parts.
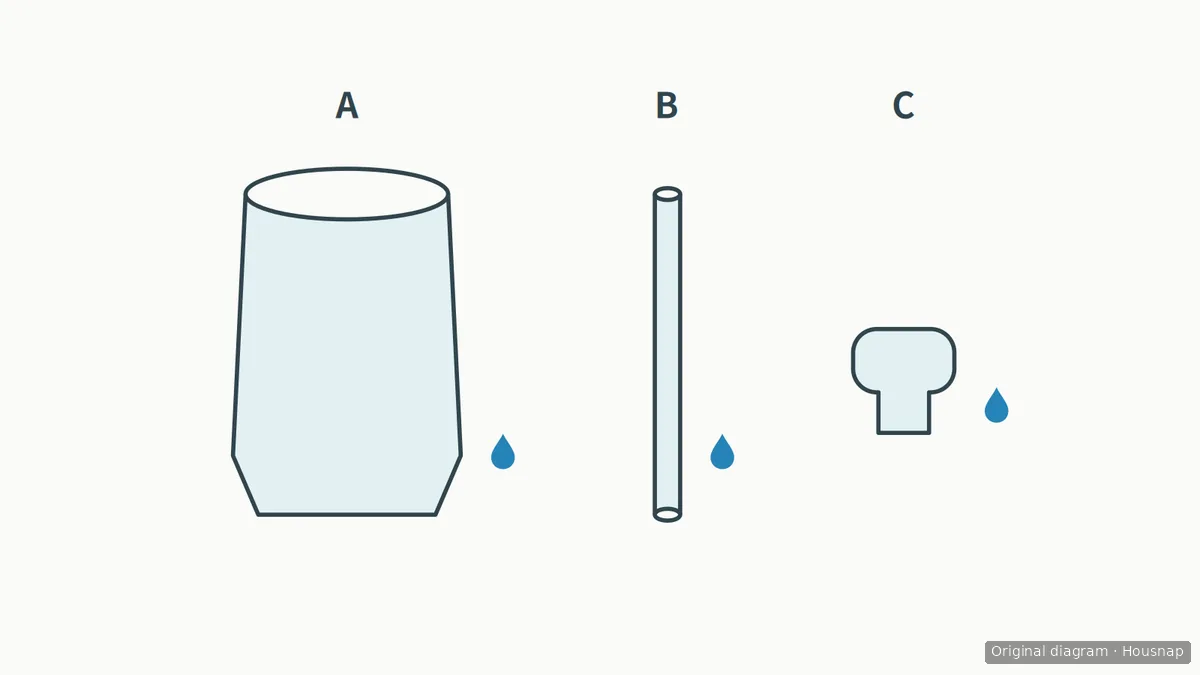
A is the bladder, B the hose and C the bite valve. The blue drops mark separate moisture checks, not a sequence for taking parts apart. The simplified drawing does not show a particular model’s fittings or prove that any component is dry.
Check the bladder’s seams and corners, the hose interior and the connection areas for droplets or condensation. If any moisture remains, keep drying. Use that check, not an assumed number of hours, before reassembly; HydraPak also specifies reassembling its tube and valve only once dry.
Store only after the checks pass
Put the clean, completely dry system in a clean, dry location. Before packing it away, inspect the hose and valve for cracking, leaks or deterioration.
CamelBak advises replacing damaged components or parts that can no longer be cleaned effectively. If residue or odor persists after the permitted cleaning procedure, ask the manufacturer about further care or an exact replacement part instead of escalating to stronger chemicals. This guide covers equipment care, not water treatment.
Come è stata costruita questa guida
This guide was written by Housnap AI using Osprey, HydraPak and CamelBak care guidance. It separates model-specific instructions from practical checks for cleaning and drying an existing reservoir; it does not report hands-on testing.