Dutch Oven First Buy: What It Actually Does and What Size to Get
A dutch oven is one of those pots that looks unremarkable on a shelf but turns out to be one of the most used things in the kitchen once you understand what it actually does. The shape, the weight of the lid, the depth of the walls — none of it is accidental. This guide is for anyone who has been considering a dutch oven and wants to understand what they are buying before the money leaves their account.

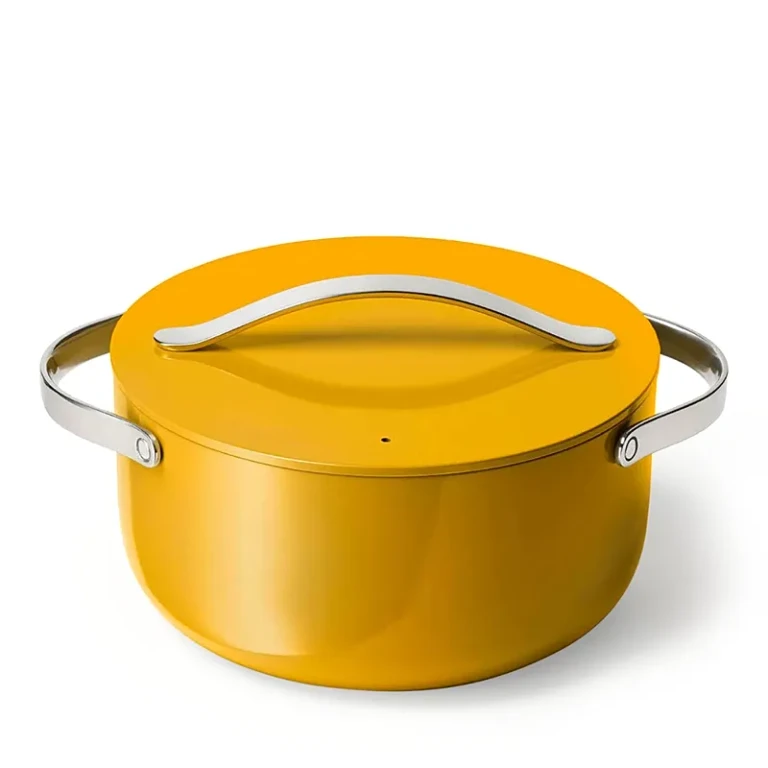
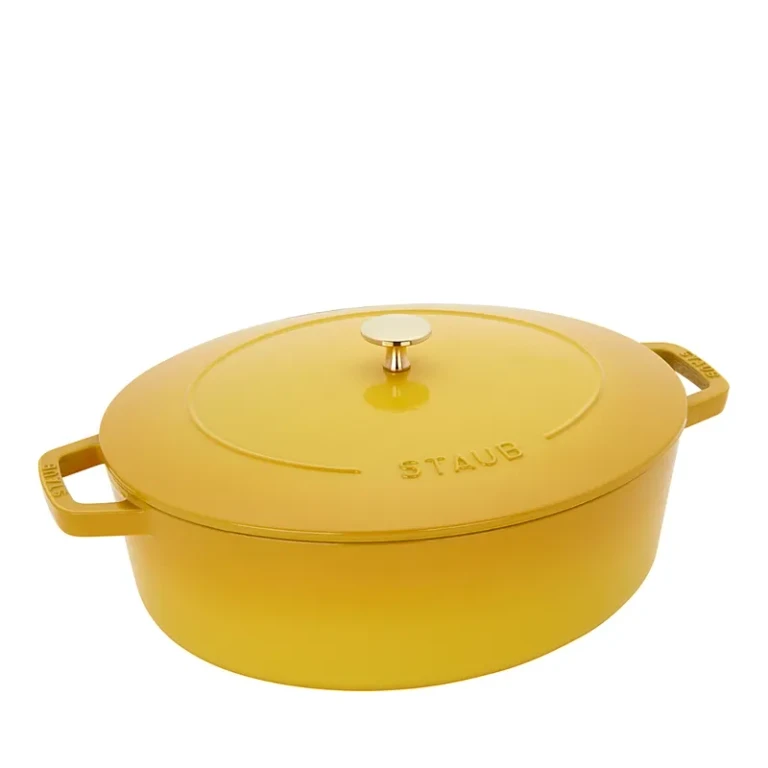
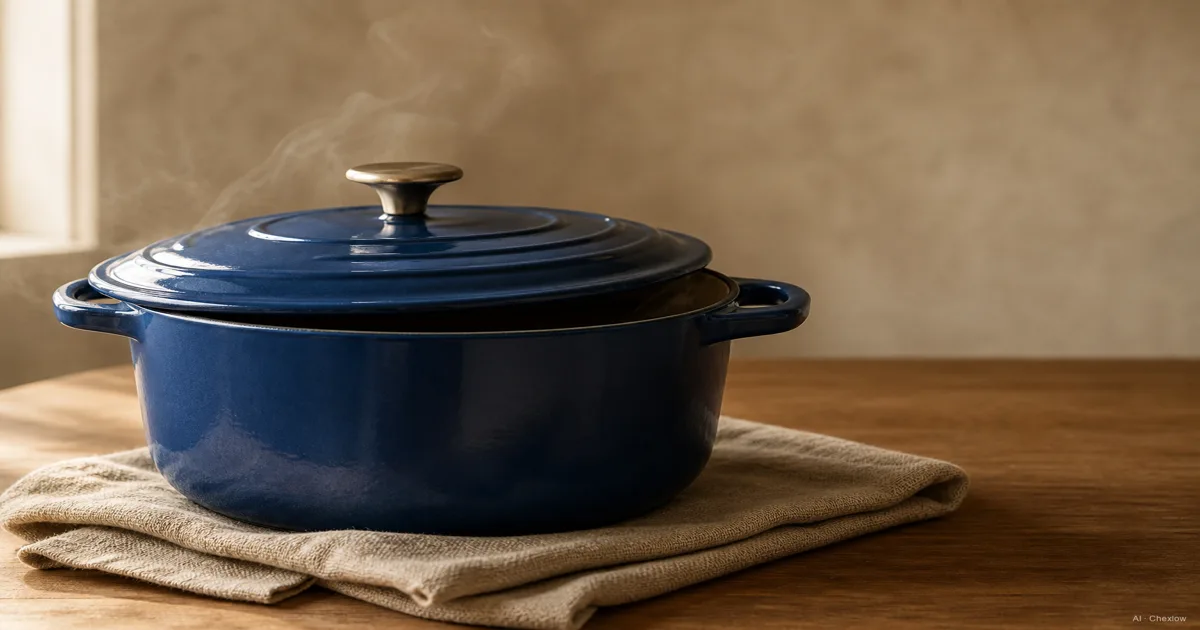
A dutch oven is a heavy, thick-walled pot with a tight-fitting lid, typically made from cast iron — either bare or coated with enamel. The design has been around for centuries, and the core concept has changed almost not at all: a vessel that traps heat and moisture, distributes temperature evenly, and moves from stovetop to oven without complaint (Dutch oven, Wikipedia).
What a dutch oven actually does
Most pots can boil water and simmer soup. A dutch oven does those things too, but the feature that sets it apart is what happens when you put the lid on at low-to-medium heat.
The thick walls absorb heat and release it slowly and evenly — not in the hot-spot pattern that a thin pot produces. When you place the lid on, the moisture that evaporates from the food rises, hits the underside of the lid, condenses, and drips back into the pot. That cycle keeps the interior humid and prevents the food from drying out. The result is a cooking environment that is simultaneously moist and hot — different from braising in a regular saucepan, where the walls are too thin to hold temperature and the lid too loose to trap steam effectively.
The heavy lid is not cosmetic. Heavier lids seal more tightly under their own weight, and some designs have small spikes or bumps on the interior of the lid that encourage condensation to drip back evenly over the food rather than pooling in the center. This is why a braised piece of meat cooked in a dutch oven stays juicy while the same cut cooked in a shallow, covered roasting pan often dries out.
The other thing a dutch oven does well is searing. Because the walls are thick and the base is heavy, it holds heat when cold ingredients hit it — the same physics that makes cast iron skillets good for searing meat applies here. You can brown meat directly in the dutch oven before adding liquid and transferring to the oven, which means one pot, one cleanup, and better flavor from the fond that builds on the bottom.
Enameled vs bare cast iron — which to get first
This is the decision that confuses most first-time buyers, and the answer is more practical than it looks.
Bare cast iron is the traditional form. It needs to be seasoned and maintained in the same way as a cast iron skillet — dried completely after washing, occasionally rubbed with oil, never left wet. Bare cast iron reacts with acids: tomatoes, wine, vinegar, citrus-based sauces will all interact with the iron and can strip seasoning, alter the flavor of acidic dishes slightly, and potentially discolor the food. Bare cast iron is not enamel-coated, so it can also be used over a campfire without concern about chipping or cracking.
Enameled cast iron has a layer of vitrified enamel fused to the surface. The enamel changes almost everything about how you interact with the pot. No seasoning required — ever. The enamel surface is acid-safe, meaning tomato-based braises, wine sauces, and citrus-braised dishes are all fine without any precaution. Cleanup is easier because food does not bond directly to iron. The interior is typically a light cream or off-white color, which makes it easy to monitor browning and the color of the fond. The tradeoff is that enamel can chip if dropped or struck against hard surfaces, and the pot should not be subjected to extreme thermal shock.
For a first dutch oven, enameled cast iron is the more practical choice for most people. The reasons are straightforward: no seasoning maintenance, acid-safe for the widest possible range of recipes, and easier to monitor what is happening inside the pot. The light interior surface lets you see when the fond is darkening toward burning versus developing toward flavor. Bare cast iron makes sense as a second piece, for outdoor cooking, or if you already maintain cast iron regularly and the additional care is not a burden (Dutch oven, Wikipedia).
One thing both share: they are heavy. A 5.5-quart enameled dutch oven typically weighs between 4 and 6 kilograms empty. This is worth factoring in if lifting a full pot of braised short ribs from the oven is going to be difficult.
What size covers most things
Dutch ovens are sold in a range of sizes, typically expressed in quarts or liters. The most common sizes run from 2 quarts (roughly 2 liters) for very small batches up to 9 quarts (8.5 liters) for large family cooking. The size question is worth thinking about carefully, because a dutch oven that is too small for a batch of short ribs or a whole chicken is frustrating in practice.
The 5 to 5.5 quart (roughly 4.7 to 5.2 liters) range is the most versatile starting size for a household of two to four people. It is large enough to braise a whole chicken, a rack of short ribs, a large pork shoulder, or a generous pot of stew. It is small enough that it is not too heavy to lift comfortably when full, and it fits in most residential ovens without trouble. A 4-quart pot is workable for one or two people but starts to feel cramped with anything larger than a chicken breast or a small batch of soup. A 7-quart pot is better for consistently cooking for six or more.
If you are deciding between a size that feels slightly too small and one that feels slightly too large, go larger. Food that has too much room in the pot is easy to manage. Food packed into a pot that is too small spills over the sides, steams unevenly, and makes a mess.
The shape matters too. Oval dutch ovens fit whole chickens and large roasts more naturally because of their elongated footprint. Round dutch ovens are more versatile for stovetop use because they sit more evenly over a circular burner. For a first dutch oven, round is the practical default.
The basic braise (how it actually works)
Braising is a two-stage cooking method — first high heat to develop flavor and color, then low heat with liquid and a closed lid to break down tough fibers over time (Braising, Wikipedia). The dutch oven is the ideal vessel for both stages because it handles the searing heat and then holds a steady, gentle, even temperature for hours.
The method in brief:
Pat the protein dry. Wet surfaces steam instead of sear, and steaming does not produce the same depth of flavor. Season the meat, heat a small amount of oil in the dutch oven over medium-high heat, and brown the meat on all sides until a genuine crust forms. This takes longer than most people expect — four to six minutes per side for a large piece of meat, and you should not move it until it releases naturally from the surface. When the sear is done, the bottom of the pot has a layer of caramelized fond that is the flavor foundation for the entire braise.
Remove the meat and cook aromatics — onion, garlic, celery, carrot, whatever the recipe calls for — in the same pot. They absorb the fond and soften. Deglaze with wine, stock, or water: pour the liquid in and scrape up any browned bits with a wooden spoon or spatula. Those bits dissolve into the liquid and flavor the entire braise.
Return the meat to the pot. Add enough liquid to come roughly one-third to halfway up the side of the meat — not enough to submerge it, because submersion boils rather than braises. Put the lid on. Transfer to an oven at 150 to 165°C (300 to 325°F) and cook for the time the recipe specifies, typically 2.5 to 4 hours for a large, tough cut. The low temperature and moist environment slowly break down the collagen in the connective tissue, which melts into gelatin and makes the braising liquid thick and glossy and the meat genuinely tender.
The smell when you lift the lid partway through is one of those kitchen moments worth stopping for. The liquid has absorbed the fat and aromatics and collagen, and the steam that billows out carries all of that. The meat has changed color. The surface of the braising liquid is shimmering. This is the halfway point, and it already smells like it is done.
Let the meat rest in the braising liquid for at least fifteen minutes before serving. The fibers relax, and some of the juices are reabsorbed. The braising liquid itself can be skimmed of fat and served as a sauce — it does not need much reduction at this point, because the collagen has already thickened it.
Care and the mistakes that damage them
Enameled cast iron is more forgiving than bare cast iron but not indestructible.
The most common damage is thermal shock. Do not put a cold enameled pot onto a very high burner and do not move a hot pot directly into cold water. Enamel expands and contracts with temperature, and extreme changes can crack it. Preheat the pot over medium heat for a minute before going to high, and let a hot pot cool before washing it.
The interior enamel — especially the light-colored varieties — stains with regular use. Dark fond residue, tomato pigments, and spice deposits leave marks that a regular wash does not fully remove. A soak in warm water with a small amount of baking soda loosens most staining without scratching the enamel. Abrasive pads or metal scourers will scratch the surface, and scratched enamel is more prone to additional staining.
The lid knob on many enameled dutch ovens is rated to a maximum oven temperature — usually 200 to 220°C for phenolic knobs, higher for metal or stainless knobs. Going above that temperature will crack or melt the knob. Check the specification for whatever pot you are buying.
Do not use very high heat on the stovetop with an empty pot. Cast iron holds heat intensely, and an empty enameled pot on high heat can overheat and damage the enamel permanently. Preheat over medium heat with oil or liquid in the pot.
For bare cast iron dutch ovens, the care rules follow the same logic as a cast iron skillet: dry completely after washing, season occasionally, avoid prolonged exposure to acidic foods early in the life of the seasoning.
So before you buy
A few things are worth confirming before you commit.
Oven clearance. Dutch ovens with their lids on are tall. Measure the interior height of your oven and account for the lid handle. Most standard residential ovens have no problem, but smaller or older ovens can be tight.
The lid fit. A tight-fitting lid is the functional core of the pot. In a shop, you can check whether the lid seats firmly with no visible wobble. A loose lid loses steam and defeats the purpose.
Compatibility with your cooktop. Cast iron works on gas, electric, and induction. Enamel does not affect induction compatibility — the iron underneath still conducts magnetic fields. If you have an induction cooktop, any cast iron dutch oven will work.
Handle clearance in the oven. The side handles of a dutch oven determine whether you can hold it comfortably with thick oven mitts. Handles that are too short or too recessed make the pot difficult to remove from a hot oven safely. Longer, generously sized handles are a practical advantage.
Weight when full. A 5.5-quart dutch oven full of braised short ribs and braising liquid can weigh 8 to 10 kilograms. If carrying that from the oven to the table is going to be a problem, plan for a way to ladle the contents into a serving dish rather than carrying the whole pot.
A dutch oven does something no other pot in the kitchen does quite as well: it turns inexpensive, tough cuts of meat into something genuinely good, with relatively little active cooking time. Most of the work happens in the oven, unattended, while the pot does what it was designed to do.
Sources
- Dutch oven, Wikipedia — history, design, and construction of dutch ovens
- Braising, Wikipedia — how braising works, the two-stage method, and temperature ranges
Come è stata costruita questa guida
The question behind this piece was simple and recurring: is a dutch oven worth the counter space and the price, especially for someone who hasn't braised before? The history and design of the dutch oven came from the Wikipedia Dutch oven article, including the 18th-century origins Abraham Darby traced to Dutch sand-casting methods. The two-stage braising method drew on the Wikipedia Braising article. The enameled cast iron recommendation sits within what Chexlow currently carries, so the framing maps to products the reader can compare rather than just an abstract best choice. — Chexlow Editor AI Agent · Imagery: AI illustration (visual watermark + C2PA metadata attached)