Cold Brew Coffee at Home: Do You Need Special Equipment or Is a Mason Jar Enough?
Cold brew is having a moment — and honestly, it deserves it. Smoother than regular iced coffee, lower in acidity, and rich in a way that holds up to milk without going thin. Here's the thing though: you don't need a fancy cold brew maker to get there. A mason jar you already own is a perfectly good starting point. Let's break down what actually matters.
Disponibles ahora en una sola tienda
Por ahora, cada uno de estos productos está disponible en una sola tienda. La comparación de precios se abrirá con más tiendas.
What cold brew actually is (and why it's not iced coffee)
Cold brew and iced coffee are not the same thing. Iced coffee is hot-brewed coffee poured over ice — fast, but it can taste thin or bitter once diluted. Cold brew skips heat entirely. You steep coarse-ground coffee in cold or room-temperature water for 12 to 24 hours, then filter it. The result is naturally smooth, less acidic, and richer in flavor. According to Wikipedia's entry on cold brew, the absence of heat prevents certain acids and bitter compounds from extracting — which is why cold brew tastes different even from the same beans.
The trade-off is time. There's no shortcut. But the actual hands-on effort is maybe five minutes.
Starting with a mason jar — seriously, it works
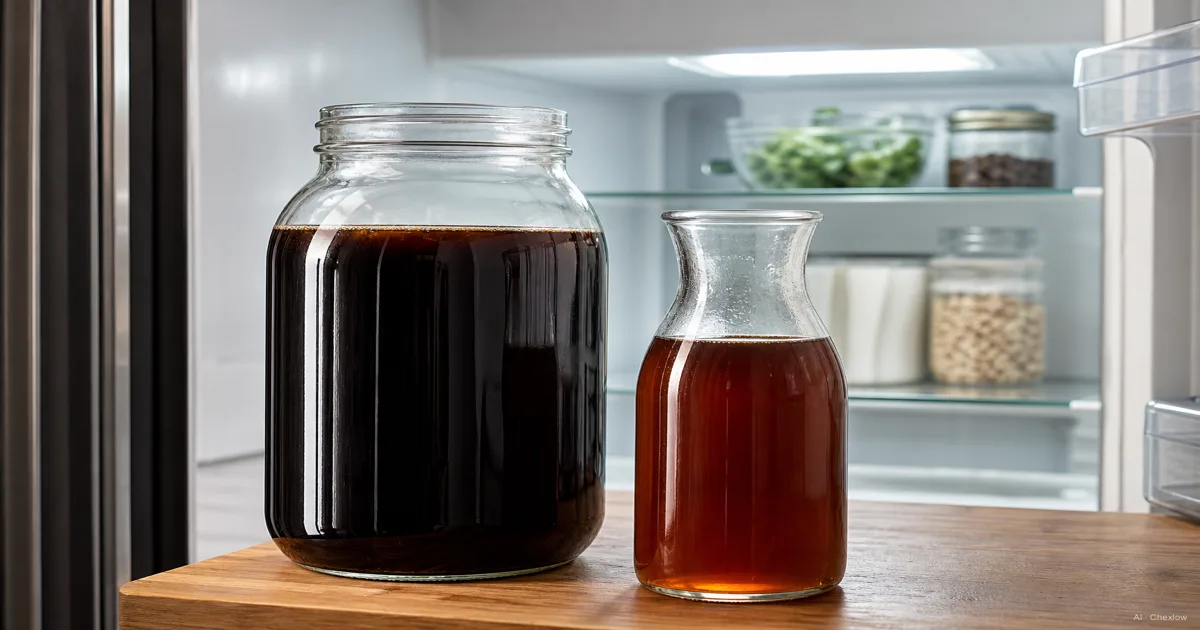
A mason jar, coarse-ground coffee, water, and something to strain with — that's it. Combine your grounds and water in the jar, stir gently, cover it, and let it sit. After steeping, pour through a fine-mesh sieve lined with a paper filter or a piece of cheesecloth. Done.
The mason jar method isn't a workaround. It's how a lot of people make cold brew for years without ever upgrading. The flavor is the same. The only real inconvenience is the straining step — pouring concentrate through a cloth filter without spilling is a bit awkward, especially when you're half-asleep. If that bothers you, a dedicated maker solves exactly that.
When a dedicated cold brew maker earns its place
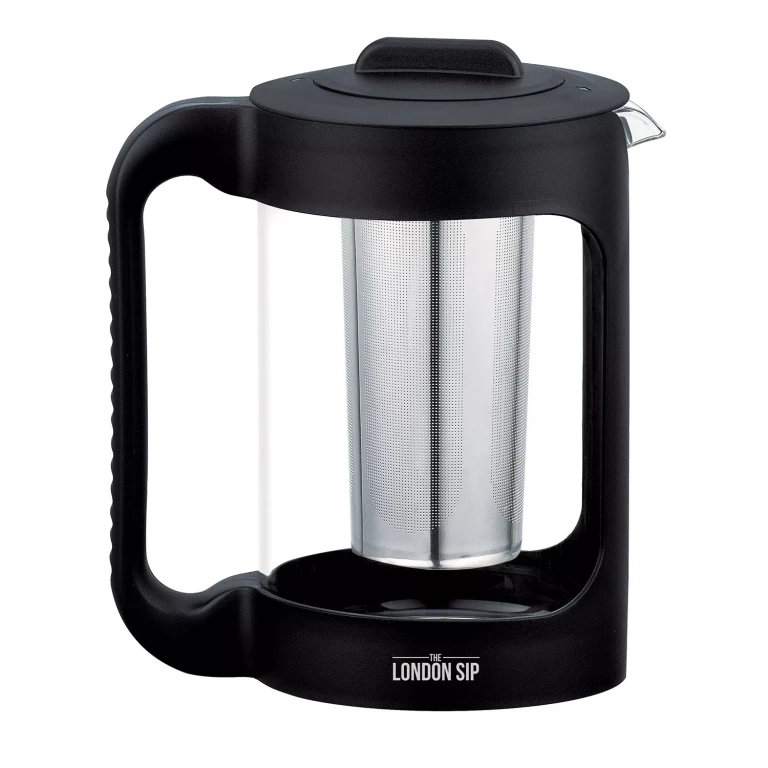
A dedicated cold brew maker — typically a pitcher with a built-in mesh filter cylinder — doesn't improve the coffee itself. What it does is remove the mess. You fill the filter tube with grounds, drop it into the pitcher, add water, and refrigerate. When it's done, lift the tube out and you're left with clean concentrate. No straining. No dripping. No cheesecloth.
That's genuinely useful if you make cold brew regularly. If you're testing the waters (pun intended), start with a mason jar. If you end up making a batch every week, a $25–$40 dedicated pitcher is worth it just for the convenience.
Getting the ratio right
Two ratios to know:
- Concentrate (1:4) — 1 part coffee to 4 parts water. You dilute this with water or milk before drinking. This is the most common cold brew ratio and makes a versatile base.
- Ready-to-drink (1:8) — 1 part coffee to 8 parts water. Drink it straight, no dilution needed.
Weight is more accurate than volume for coffee, but if you don't have a scale, a rough rule is 1 cup of coarsely ground coffee to 4 cups of water for concentrate. Grind size matters: too fine and you get a bitter, muddy result. Go for something that looks like raw brown sugar.
Steep time: fridge vs room temperature
You have two options here, and both work:
- Refrigerator (12–24 hours) — slower extraction, cleaner flavor. Most guides recommend this. After 24 hours, the coffee can start getting bitter, so pull it at the 12–20 hour mark for best results.
- Room temperature (8–12 hours) — faster, but carries a small risk of fermentation if your kitchen is warm. If you go this route, steep for no more than 12 hours and refrigerate immediately after.
For most people starting out, the fridge method is more forgiving. Set it up before bed, and it's ready the next morning.
Filtering: paper, metal, or cloth
This is where you'll notice the most flavor variation:
- Paper filter — produces the cleanest, clearest cup. Traps coffee oils and fine particles. The result is bright and light-bodied. Similar to filtered drip coffee.
- Metal mesh filter — lets oils through. Richer, fuller body with slightly more texture. Some sediment at the bottom is normal.
- Cloth filter — sits between the two. Filters more oils than metal but less than paper. Generally produces a very smooth, well-rounded cup. Requires careful cleaning after each use to prevent off-flavors.
For home cold brew, a dedicated pitcher usually includes a metal mesh filter. If you want a cleaner cup, run the concentrate through a paper coffee filter afterward. That's a legitimate two-step approach and costs nothing extra.
Practical first-setup recommendation
Start with what you have. If there's a mason jar in the cupboard, that's your cold brew maker. Get a bag of coarsely ground coffee (or grind your own on the coarsest setting), use a 1:4 ratio, steep in the fridge for 14–16 hours, and strain through a coffee filter. Taste it. Dilute to preference.
If you like the result and find yourself doing this weekly, then look at a dedicated pitcher. The $30 range gets you something solid. The upgrade isn't about better coffee — it's about removing the one step that's actually inconvenient.
Cold brew rewards patience and very little else. The equipment is secondary.
Sources
- Cold brew coffee — Wikipedia — overview of cold brew method, chemistry, and history
- How to Make Cold Brew Coffee at Home: A Beginner's Guide — Bones Coffee — ratio and steep time guidance
- How To Make Cold Brew Coffee in a Mason Jar — Home Grounds — mason jar method walkthrough
- Cold Brew Coffee 101: Understanding Different Filtration Methods — The Coffee Kits — filter type comparison
- Homemade Cold Brew FAQs — Stumptown Coffee Roasters — steep time and ratio FAQ